Feb 20
2025How to Prepare Your Walls for Painting
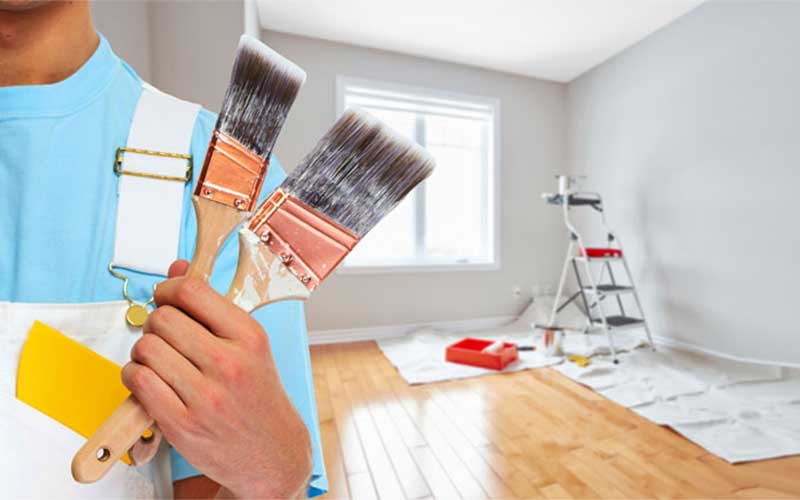
Proper wall preparation is the foundation of a successful painting project. Even the highest quality paint won’t look good if applied to poorly prepared surfaces. Follow these essential steps to ensure your walls are perfectly ready for a fresh coat of paint.
Clean the Walls
Before you start any painting project, thoroughly clean your walls to remove dust, dirt, and grease. Use a mixture of mild soap and warm water, and wipe down all surfaces with a sponge. For kitchen walls that may have grease buildup, use a degreaser product. Allow the walls to dry completely before moving on to the next step.
Repair Any Damage
Inspect your walls for cracks, holes, or other imperfections. Use spackling compound for small holes and drywall compound for larger areas. Apply the compound with a putty knife, filling the damaged area completely. Once dry, sand the area until smooth and flush with the wall. Remember to wipe away any dust after sanding.
Remove Loose Paint
If your walls have any peeling or flaking paint, it’s essential to remove it before applying new paint. Use a paint scraper or putty knife to gently remove the loose paint. For extensive peeling, you might need to use a heat gun or chemical paint stripper. After removing loose paint, sand the edges to create a smooth transition between the bare area and intact paint.
Sand the Walls
Light sanding creates a slightly rough surface that helps new paint adhere better. Use fine-grit sandpaper (220-grit) and sand the entire wall with light pressure. Pay special attention to repaired areas to ensure they’re completely smooth. After sanding, wipe down the walls with a damp cloth to remove all dust.
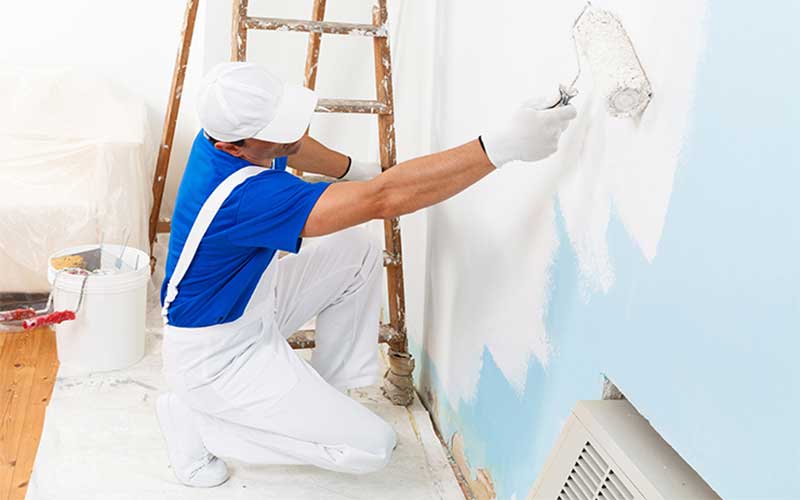
Apply Primer
Primer is especially important when:
- Painting over bare drywall or wood
- Changing from dark to light colors
- Covering stains or repairs
- Painting over glossy surfaces
Apply primer with a roller for large areas and a brush for edges and corners. Allow it to dry completely according to the manufacturer’s instructions before applying paint.
Tape and Protect
Use painter’s tape to protect trim, windows, doors, and ceiling edges. Lay drop cloths or plastic sheeting to protect floors and furniture. Ensure the tape is firmly adhered to prevent paint from seeping underneath.
By taking the time to properly prepare your walls, you’ll achieve a professional-looking paint job that lasts longer and looks better. If you’re unsure about tackling wall preparation yourself, remember that our professional team is always ready to help with your painting project from start to finish.